Life is Loud! It’s time for a Sound Check
Take our free, clinically validated hearing test to gain insight into your unique hearing ability.
Clinically validated hearing test
Developed by leading Stanford audiologist
Jody Winzelberg, AuD.
Jody Winzelberg, AuD.

Take anywhere, anytime
Take the hearing test on your phone or computer using earbuds or headphones. No equipment needed.
Get immediate results
Get a personal report and your Johns Hopkins Hearing Number in just 5 minutes.

How SonicCloud Sound Check Works
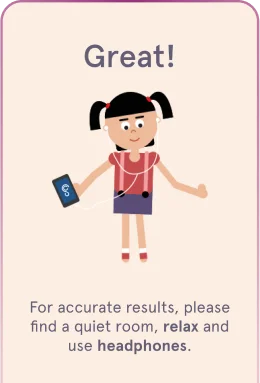
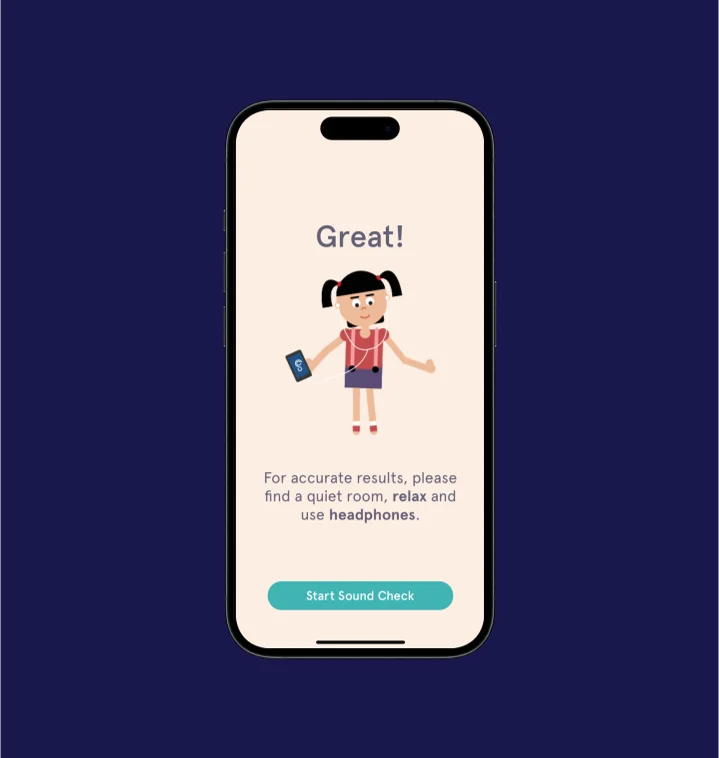
Find your space
Find a quiet room and grab your earbuds or headphones. If you have hearing aids, please take them out and use earbuds or headphones.
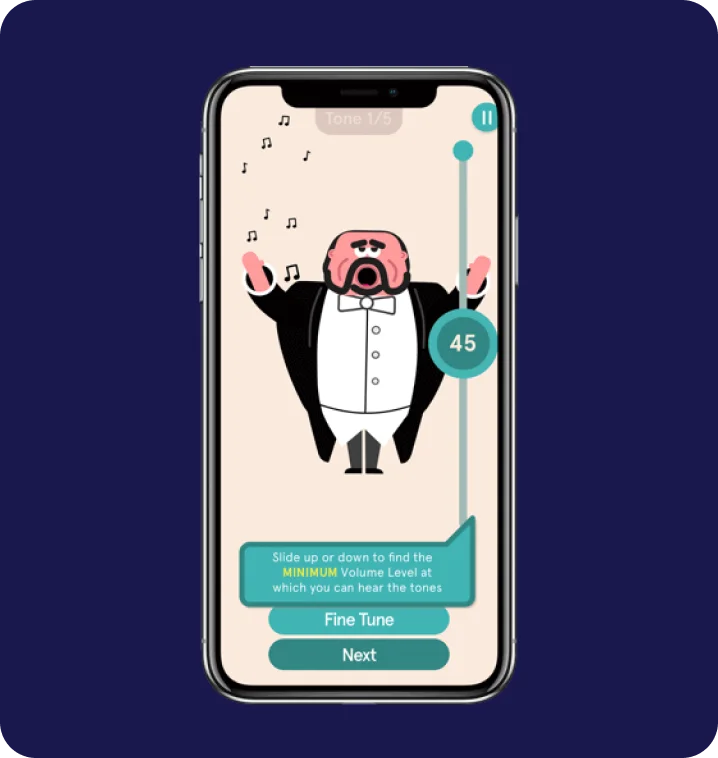
Test soft sounds
We'll find out how quiet you can hear different tones. Just slide the bar to the quietest you can hear for each one.
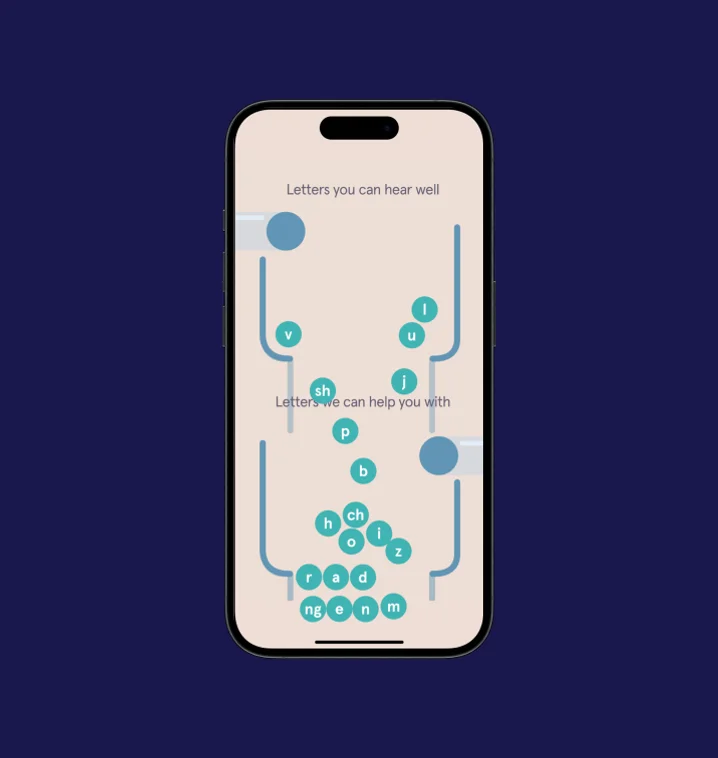
Immediate results
You'll see which letters you hear clearly and where you might need some extra help. You’ll also receive your Johns Hopkins Hearing Number.
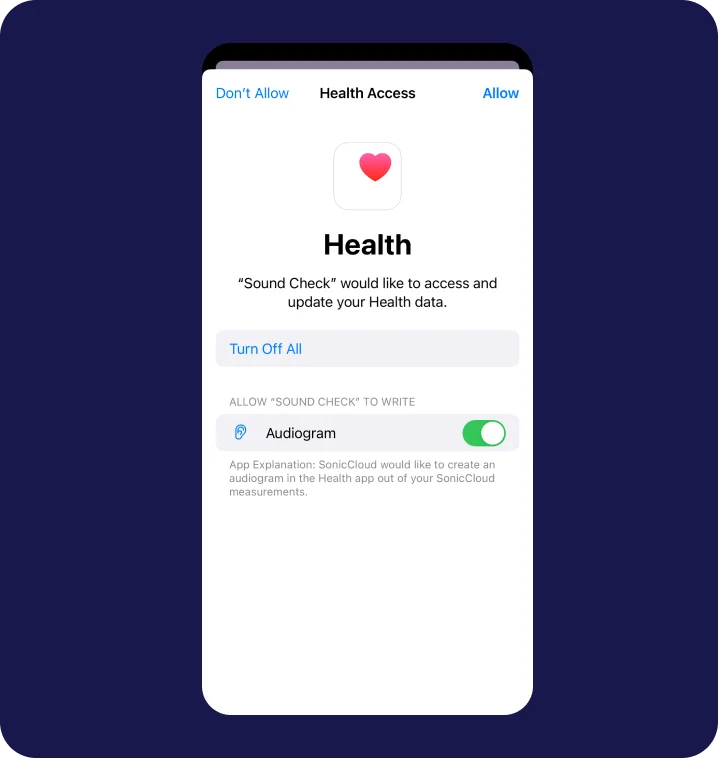
Export Audiogram
Seamlessly export your test results and manage your hearing health with SonicCloud's integration with Apple Health.
After a fun summer of live music, my Sound Check score gave me peace of mind about my hearing health. Now I feel empowered to make better choices to ensure I can continue to enjoy the soundtrack of life for years to come!
- Dave
Dont wait, take your free
SonicCloud Sound Check today!